Proxmox
VM Storage
Drive I/O is one of the most time-consuming tasks that a service or program experiences, probably second only to network I/O. Proxmox presents an interesting challenge when it comes to managing bulk storage. Over the years, I have come across several ways of dealing with this issue.
Pass the whole honkin' drive through
Proxmox allows you to passthrough a block device into the VM. Issue is, this is a one to one relation; that is to say, only one of your VMs can access the disk(s) you choose. Of course, you could then share the disks via a network protocol and mount them on other VM guests, but there's a better solution below.
Also, from a data integrity standpoint, I have some (maybe unwarranted) reservations as to adding another layer of translation between your I/O requests and the drive controller. If the data were to be corrupted somehow during translation, you're in for a bad time even with software raid (your raid software is none-the-wiser to read/write errors 🙁).
Pass through a PCIE HBA card with drives attached
This is similar to the previous method, however you are passing a drive adapter card into the VM. This would avoid the I/O translation issue, as the VM gets direct memory access to the PCIE drive adapter, and therefore is able to speak to it directly. However, there is the same downside which is only a single VM has access to your drive(s).
Use a network based protocol
If we have the drives mounted on the host, and the host shares a network with a VM, how about we share "over the network" and mount the drive on the guest? This is the solution that I went with on many installations.
- Create a private bridge network that is not attached to any NICs and assign the host an IP to use on the bridge
- Create a network interface for each VM and connect it to the bridge
- Assign an IP to the interface and mount the network share via the hosts' IP
If you use ZFS, an easy way of sharing a dataset is by setting the sharenfs property, which will automatically manage a zfs share for you. For example: zfs set sharenfs=rw=192.168.254.0/24,no_root_squash pool/volume
This method is pretty neat, as it allows multiple hosts to access one or more mount points from the host. When it comes to NFS, there are some configurations that need to be tuned, such as when it comes to user ID mapping (see man 8 exports) as well as the size of read and write requests.
Make sure that programs and services on the guest (other than the folder mounting software) do not have access to the Proxmox host's IP address over the internal network! This is especially important if you are using an unencrypted protocol such as NFS.
Unfortunately, when it comes to my own home server I have found this sort of setup is quite prohibitively demanding, requiring upwards of two threads worth of CPU shares when compared to the alternative (below). I find this is especially the case if a program is attempting to access multiple files simultaneously. However, with a powerful enough system I'd imagine dedicating a few cores to this wont be too bad.
Bind mount a folder on the host into a Linux Container (LXC)
Well gee, we're only running Linux on the guests anyway, how about we use LXCs and just mount the drives directly? Similar to how Podman/Docker containers can have volumes passed into them, we can pass through a folder into an LXC and have it show up... as a folder! This is the solution that I have settled on in the ol' homelab. Using pct set <lxc_id> -mp0 /<host_mount_point>,mp=<guest_mount_point> will configure your folder to show up in your LXC, no mess or fuss.
If the LXC is unprivileged, the folder and its contents may be inaccessible by the guest. This is due to the fact that the UID and GIDs of the contents of the drive are mapped to a number different than that of the host's UID and GID range (rootless Podman fanboys will be familiar with this). Take a peek at /etc/subuid and notice that the sub UIDs that the root user is able to unshare is shown as starting from the first number, and the number of UIDs that are available is shown as the first number. Same goes for sub GIDs, which are located in /etc/subgid Ok, ok, TLDR; just recursively change the permission of your mount point to 10000:10000
LXCs, among other things, are different from VMs in that instead of using CPU virtualization extensions they re-use the host's kernel and therefore can only run on Linux. Whether or not to use an LXC or a VM is kind of beyond what I'd like to write in this page though.
Proxmox Cookbook
Proxmox comes out of the box with some very useful programs such as OpenZFS, LXD and of course KVM. Starting off with the correct settings is quite important though, especially when it comes to those that cannot be changed after installation, such as a zpool's ashift parameter.
Installing the OS
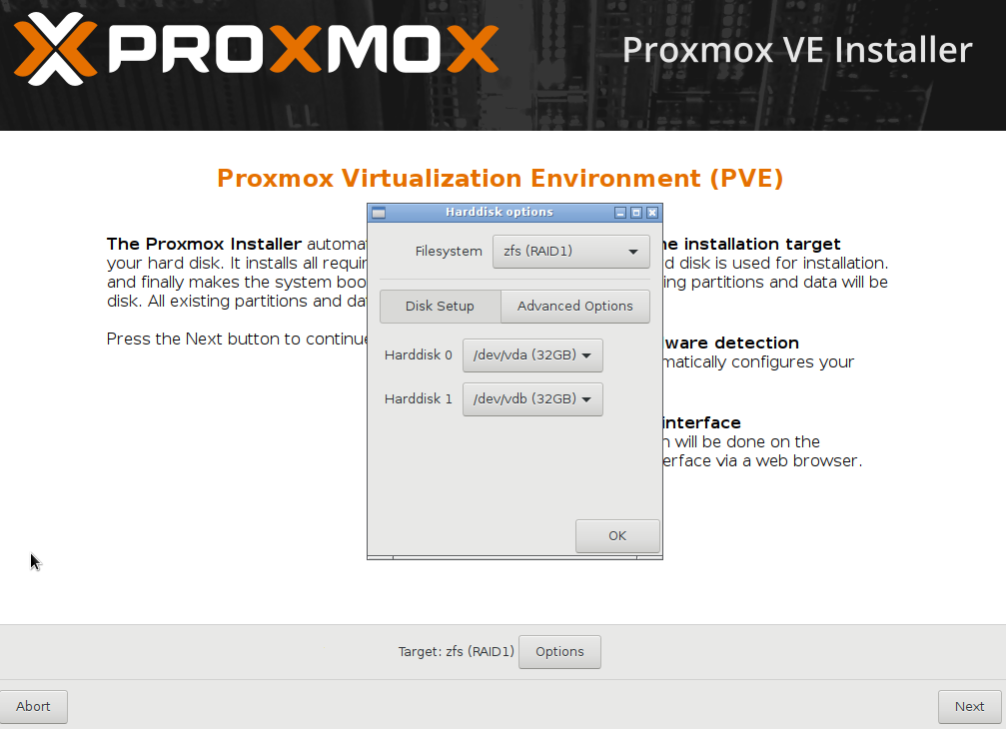
There are two different ways of installing Proxmox; either install on top of Debian or directly from the Proxmox ISO. Installing on top of Debian allows for customizing the partition layout of the OS, as the Proxmox installer only provides a full-guided installer. That being said, if you are wanting to take advantage of features such as ZFS on root, the Proxmox installer can do this for you.
Root Encryption
EXT4 on top of LUKS is presented as an option when installing Debian. However, what if you wanted your root as an native encrypted ZFS dataset? Well, thanks to systemd-boot, you can! The Proxmox ISO automatically installs Proxmox using systemd-boot as the boot loader, which itself automatically detects whether or not the root dataset uses ZFS native encryption or not.
To achieve this, all that needs to be done is install Proxmox on ZFS using the guided installer:
Then,
- Create a copy the unencrypted root dataset
- Delete the original unencrypted dataset
- Create a new encrypted dataset in place of the original dataset
- Copy the files into the new encrypted dataset
# Import the old
zpool import -f rpool

# Make a snapshot of the current one
zfs snapshot -r rpool/ROOT@copy

# Send the snapshot to a temporary root
zfs send -R rpool/ROOT@copy | zfs receive rpool/copyroot

# Destroy the old unencrypted root
zfs destroy -r rpool/ROOT

# Create a new zfs root, with encryption turned on
# OR -o encryption=aes-256-gcm - aes-256-ccm vs aes-256-gcm
zfs create -o encryption=on -o keyformat=passphrase rpool/ROOT

# Copy the files from the copy to the new encrypted zfs root
zfs send -R rpool/copyroot/pve-1@copy | zfs receive -o encryption=on rpool/ROOT/pve-1

# Set the Mountpoint
zfs set mountpoint=/ rpool/ROOT/pve-1

# Delete the old unencrypted copy
zfs destroy -r rpool/copyroot

# Export the pool again, so you can boot from it
zpool export rpoolNote: this is also where you would want to set other ZFS options such as encryption or blocksize.
After Installing Proxmox
After installing Proxmox, it's probably a good idea to do the things that you are probably already familiar with when installing a new server OS (updating the system, turning off ssh passwords).
Cheers! If you're curious, take a peek at how to handle VM Storage.